How to Remove Background Noise From Video [2026 Guide]
Bad audio ruins good footage faster than bad picture does. This guide explains where background noise comes from, which fixes work, and how to remove it from any video with AI voice isolation in a few clicks.
Viewers forgive a soft focus or a shaky shot. They do not forgive audio they have to strain to understand. A fan humming behind your voice, wind on a phone microphone, a street outside the window or a cafe full of chatter will make people click away within seconds, even when the picture is great.
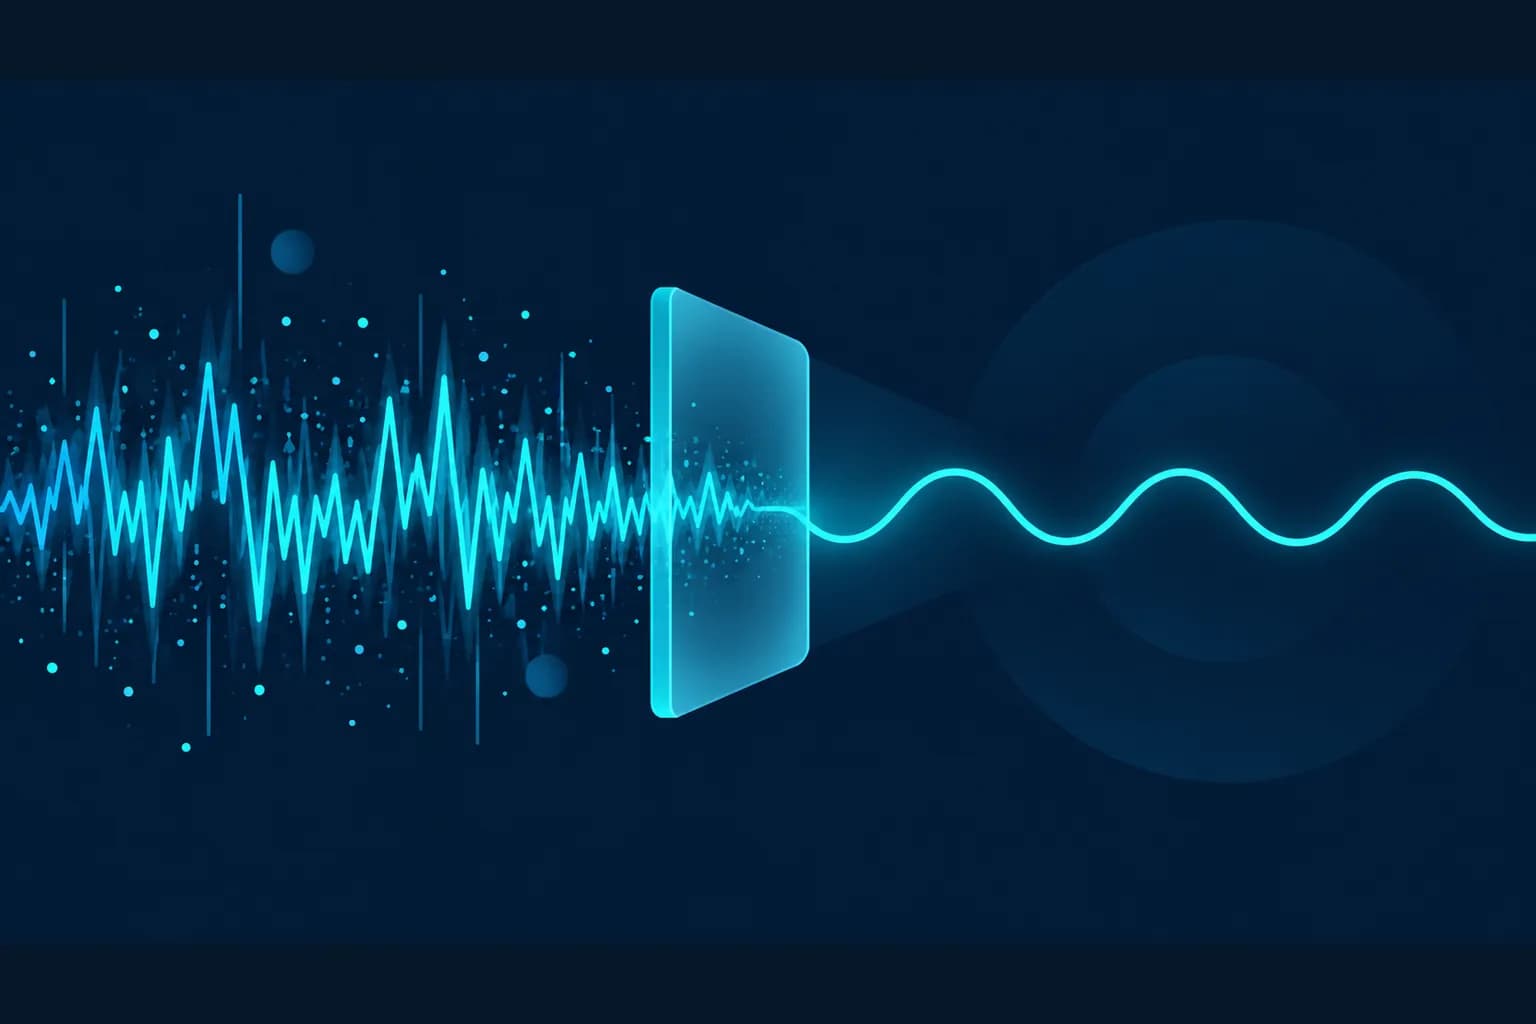
The good news is that you rarely have to re-shoot. Modern AI can remove background noise from video by separating the speaking voice from everything else and keeping only the voice. That technique is called voice isolation, and it works on the audio track without touching the picture.
In this guide you will learn where video noise comes from, why the old fixes (noise gates, EQ, "just turn it down") often fall short, how voice isolation works, and exactly how to clean a noisy clip in your browser. We will also cover recording habits that keep noise out in the first place, and what to do when a recording is too damaged to save.
What Causes Background Noise in Video Recordings?
Background noise is any sound that is not the thing you want the viewer to hear. In most videos that thing is a voice, and the noise falls into a few families:
- Constant hum and hiss: air conditioners, fridges, computer fans, a cheap microphone's electrical hiss and mains hum.
- Environmental noise: traffic, construction, crowds, aircraft, rain and wind.
- Room noise: echo and reverb from bare walls, glass and tile, which smear every word.
- Handling and desk noise: keyboard clicks, mouse taps, paper shuffling, cable bumps and chair creaks.
- Other voices: colleagues, family, a TV in the next room, or a restaurant full of conversation.
The reason this is so common is simple. A phone or webcam microphone picks up everything within range, and it does not know which sound matters. The result is a low signal-to-noise ratio, the gap between how loud your voice is and how loud everything else is. Research on speech intelligibility consistently shows that understanding gets harder as that ratio falls, as in this Heriot-Watt University study on signal-to-noise ratio and speech intelligibility. Raising the ratio, either by recording better or by cleaning the audio afterwards, is the whole game.
Why Don't Normal Fixes Like Turning Down the Volume or Using a Noise Gate Work?
Because most noise lives in the same frequencies as speech. Human speech sits roughly in the middle of the audible range, and so do traffic rumble, chatter and room echo. Classic tools were built for a simpler problem:
| Method | What it does | Where it fails |
|---|---|---|
| Lowering the volume | Makes everything quieter | Voice and noise drop together, ratio unchanged |
| EQ / high-pass filter | Cuts chosen frequency bands | Removes part of the voice too, sounds thin |
| Noise gate | Mutes audio below a threshold | Noise returns the moment you speak |
| Spectral noise reduction | Subtracts a steady noise profile | Needs a clean noise sample; fails on changing sounds |
| AI voice isolation | Separates the voice from the mix | Very low volume or overlapping speakers can still be hard |
Steady sounds such as hum are easy to subtract. Unpredictable sounds, such as a passing truck or a burst of laughter, are not. That is the gap AI voice isolation fills.
How Does AI Voice Isolation Remove Background Noise From Video?
AI voice isolation removes background noise by recognizing what a human voice sounds like and rebuilding a clean voice track while discarding the rest. Instead of filtering by frequency, a trained model has learned the patterns of speech from large amounts of recorded audio, so it can tell a voice from a car horn even when they overlap in pitch.
In practice the process looks like this:
- The audio is separated from the video. Your picture is not part of the processing.
- The model estimates the voice at every moment and treats everything else as noise or interference.
- A clean voice track is produced, with hum, wind, clicks and chatter reduced or removed.
- The cleaned audio is put back with the original video, so the footage and timing are unchanged.
Because the model targets speech, it is designed to keep the voice warm and intelligible instead of leaving it thin or robotic, which is the common side effect of aggressive filtering.
What Kinds of Noise Can AI Remove?
Voice isolation handles the everyday problems that ruin creator and business videos:
- Traffic, street noise and construction
- Wind and breathing blasts on phone microphones
- Fan, air-conditioner and appliance hum
- Keyboard and mouse clicks
- Room echo
- Background chatter
We're working on this at BGBlur. A voice isolation feature built around exactly this list is in development, with no sliders or presets, so you can fix a clip without being an audio engineer. It isn't live yet, so the steps below describe the workflow to follow with any voice isolation tool, and how BGBlur's version will work.
How to Remove Background Noise From a Video (Step by Step)
You can clean a clip in a few minutes with a browser-based voice isolation tool, and nothing needs to be installed.
Step 1: Open a Voice Isolation Tool
Pick a tool that works on both audio and video files, so you can use it for a podcast recording or a phone video. BGBlur's own voice isolation is coming soon.
Step 2: Upload Your Video or Audio File
Pick your file. Common audio formats such as MP3, WAV and M4A and video formats such as MP4 and MOV are widely supported. For video, only the audio track should be processed and the picture left as it was.
Step 3: Let the AI Clean the Audio
The best tools need nothing tweaked: they detect the noise and isolate the speaker automatically, then return a cleaned file. Longer recordings take longer, so for a very long file start with a short test clip first.
Step 4: Listen, Then Download
Play the result with headphones, not laptop speakers, because speakers hide residual noise. Check the quietest moments between sentences (that is where leftover hiss shows up) and a loud moment (that is where artifacts show up). If it sounds right, download it.
Tip: Always keep your original file. Run isolation on a copy so you can compare before and after, or retry if the first result is not what you wanted.
How Do You Handle Wind Noise, Echo and Chatter Specifically?
Each noise type responds a little differently, so here is what to expect and how to help the tool.
Wind Noise
Wind is a low, bursty rumble that overloads the microphone, and it is the hardest noise to fix after the fact if the signal clipped (distorted). If the wind was moderate, voice isolation will remove it well. If the voice itself is crackling, the damage is already in the recording. For next time, use a foam or fur windshield, or turn your body to block the wind.
Room Echo
Echo is your own voice arriving late from the walls. Isolation reduces it significantly because it favors the direct voice. Heavy reverb in a large empty room may leave a faint trace. Record closer to the mic and add soft surfaces such as curtains, rugs or a blanket behind the camera.
Background Chatter
Chatter is the trickiest because it is speech. The model can usually separate a close, loud main speaker from distant voices. When two people talk at similar volume at the same time, no tool can perfectly decide whose words to keep, so expect partial results.
What Should You Do Before and After Cleaning Audio?
Cleaning is more effective when the input is as good as you can make it, and a few finishing touches make the output sound professional.
Before you record:
- Get close to the microphone. Halving the distance to your mouth gives a bigger jump in clean level than almost any post-processing.
- Turn off what you can. Fans, air conditioning, notifications and open windows.
- Use a lavalier or USB microphone when you can, even an inexpensive one.
- Do a ten-second test and listen with headphones before the real take.
- Don't let the audio clip. Distortion cannot be removed later.
After cleaning:
- Normalize the volume so the voice sits at a consistent level.
- Add subtle room tone or music if the silence now sounds unnaturally empty. Total silence between words can feel odd, and a quiet bed fixes it.
- Re-check on a phone speaker, since that is how most viewers will listen.
Who Benefits Most From Removing Background Noise?
Creators and vloggers who shoot outdoors or in busy places can rescue a take when the location was louder than expected.
Educators and course makers can clean lectures and screen recordings so students understand every word. The same applies to Zoom and Meet recordings that get reused as training material.
Podcasters and interviewers get clearer guest audio, especially from remote guests on laptop microphones.
Fitness coaches and studios recording in gyms with loud music can keep instruction audible. See our guide to video content tools for fitness coaches.
Journalists and researchers often work with field recordings where clarity decides whether a quote is usable.
Businesses can clean up recorded meetings, demos and customer calls before sharing them internally.
Should You Clean Audio and Protect Privacy at the Same Time?

If the video features other people, cleaning the audio is only half of the publishing checklist. Voice isolation makes speech clearer, which also makes it easier to recognize and transcribe. Before you publish a clip with customers, patients, students or bystanders:
- Blur faces in the video if people did not agree to appear.
- Consider whether the speaker's voice should be disguised. Our guide to audio anonymization and voice distortion explains when and how, and why voice cloning scams make clean, public voice samples more sensitive than they used to be.
- Check consent rules for recorded audio in your country. We cover this in can you publish someone's recorded voice.
The workflow most teams settle on is simple: clean the audio, blur or anonymize what needs protecting, then export once.
How Do You Know if a Recording Is Too Damaged to Save?
Be honest about the limits so you do not waste an afternoon. Re-recording a sentence is faster than rescuing it when:
- The voice is clipped or distorted at the source.
- The speaker is very far from the microphone and quieter than the noise.
- Several people talk over each other at equal volume.
- The noise is louder than the voice for the entire clip.
For anything else, try isolation first. It costs minutes, and the result is often good enough to publish. A quick workaround for a few broken words is to cover them with a caption or an overlay and keep the rest of the take.
Pro Tips for the Cleanest Results
- Process the original file, not a compressed re-export. Each re-encode removes detail the model needs.
- Trim long silences and false starts first to shorten processing time.
- Test on 20-30 seconds with the worst noise before you run the whole video.
- Listen with headphones and again on a phone speaker.
- Don't stack tools. Running several noise filters in a row can create artifacts. One good pass of voice isolation is usually enough.
- Keep the original so you can always go back.
Conclusion: Clean Audio Is the Cheapest Upgrade in Video
Great audio does more for perceived quality than a new camera. You now know the causes of video noise, why filters and volume tweaks fall short, how AI voice isolation separates a voice from the rest, and how to clean a clip in four steps, plus how to record so you need the fix less often.
The next time a recording is ruined by a fan, wind or a noisy street, don't re-shoot it. Run it through a voice isolation tool and get clear speech back. We're working on voice isolation at BGBlur and it will join the rest of the toolkit, so you'll be able to blur faces or anonymize voices in the same place before you publish. Cleaner sound and better privacy in one workflow is where video editing is heading.