Blur Faces and Plates in Video, but Keep the Location [2026]
Site, incident and delivery footage is more useful when you know where and when it was recorded, and safer to share once bystanders are blurred. This guide gives a fixed order of work that does both, and explains what to keep, what to share and what to hide.
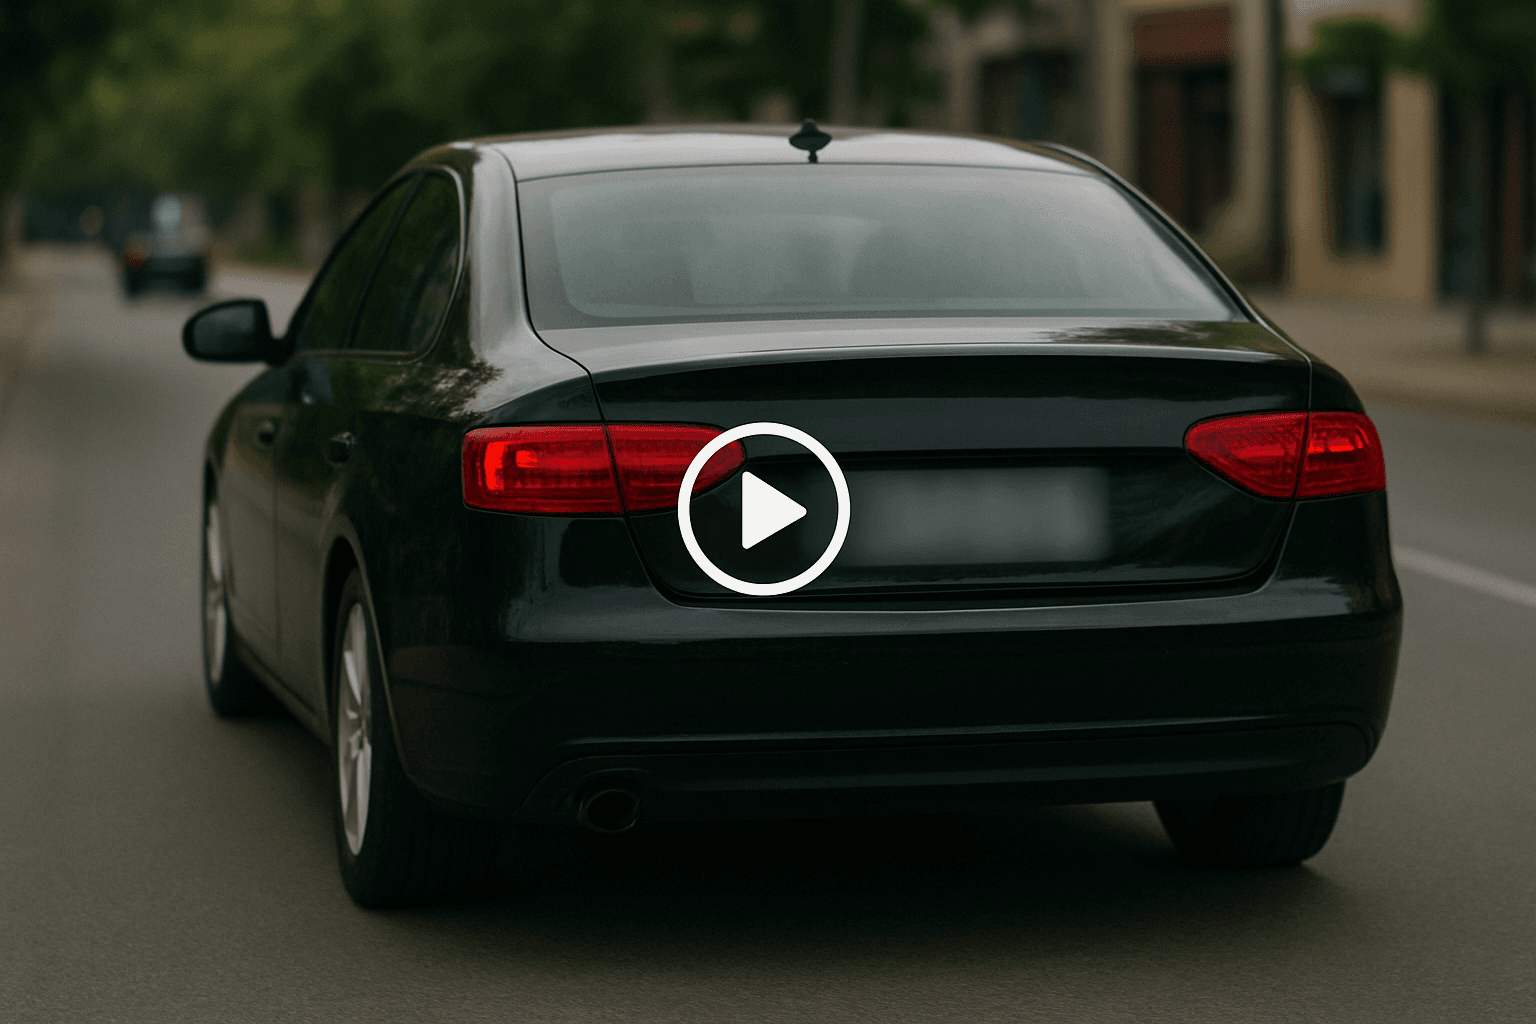
Footage from a site, a street or a delivery is more useful when you know where and when it was recorded. It is also riskier to share, because every face and every license plate in the frame belongs to someone who did not agree to appear. Teams usually discover this the hard way: the clip is sent to an insurer, a client or a group chat, and only afterwards does someone ask who the pedestrians are and where exactly this was.
The way through is to do two separate jobs in a fixed order. First record the context, meaning the place and the time, in a form you control. Then blur what should not leave your team. This guide shows that workflow, explains what each step protects, and points out where blurring alone is not enough.
Why does footage need both context and privacy?
Footage needs context because a clip without a place and a time is easy to dispute, and it needs privacy because a clip with identifiable strangers is a liability. The two goals pull in opposite directions: context adds identifying detail, privacy removes it. Handling them in the wrong order, or mixing them in one file, is how teams end up with either an unusable clip or a leaked one.
Consider three common cases:
- Incident documentation. A facilities team films a damaged loading dock gate. The insurer needs to know which dock and when. The people walking past do not need to be in the file the insurer receives.
- Dashcam and fleet clips. A driver records a near miss. The clip is useful for the claim and for training, and it shows plates and faces from several other vehicles.
- Public-space footage. A journalist or creator films a street scene. The place matters to the story, while the individual passers-by do not.
In each case the sharer needs the location on record somewhere and the bystanders hidden in what goes out. The European Data Protection Board's Guidelines 3/2019 on processing of personal data through video devices address how data protection rules apply to video, which is why anyone sharing footage that shows people should treat blurring as part of the workflow rather than an afterthought. For the compliance side in depth, see BGBlur's GDPR guide to blurring faces and license plates.
Step 1: How do you record where and when a scene was filmed?
Take a reference photo at the scene before you edit anything. A reference photo is a still picture that shows where the footage was recorded, with the coordinates and the time attached to it.
The free Geotag Camera from Ceptory does this in the browser. When you open it, it asks for camera and location permission, then shows your GPS coordinates directly under the live preview. When you take a photo, it prints the street address, latitude, longitude, accuracy and time along the bottom edge of the image, and writes the same information into the photo's EXIF metadata together with a title, photographer and copyright if you enter them. The photo is never uploaded and stays on your device until you download it. Only your coordinates are sent to OpenStreetMap to get the address, and a switch turns that off.
A few habits make the reference photo more useful:
- Read the accuracy figure. MDN defines geolocation accuracy as the radius in metres within which the true position falls with 95% confidence. A small number means a precise point. A large number, which is common on laptops and indoors, means only an area.
- Take it where the footage was filmed. The point is to match the scene, so stand near where the camera stood.
- Add a title. "Dock 3 gate, north yard" is more helpful to a later reviewer than a file named with a timestamp.
- Photograph the scene as filmed. Include whatever the video shows, such as signage or a gate number, so a reviewer can match the two.
The photo is not a replacement for the video's own metadata. It is an independent record that anyone can open, read and file without special software.
Step 2: How do you blur faces and license plates before sharing?
Open a copy of the video in BGBlur and apply face blur and license plate blur to the clip. BGBlur runs in the browser, so there is nothing to install, and the AI detects faces and plates and follows them through the video. You do not need to keyframe each frame or move masks by hand.
Work on a copy, never on the only copy. The shared file is a derivative; the original stays as recorded.
Face blur
Use the face blur tool when people other than the subject appear in the frame. Check the settings so that the blur strength is high enough that features cannot be recovered, especially for close-up faces. If the footage is of a person who must remain visible, such as the employee reporting the incident, you can still blur everyone else.
License plate blur
The license plate blur tool finds plates on vehicles that pass through the frame, including those at an angle or moving. Dashcam and gate-camera footage tends to show dozens of plates in a short clip, which makes manual masking impractical. Our guide to blurring faces and license plates in dashcam videos covers the settings that matter for moving vehicles.
Blur anything else that identifies someone
Faces and plates are the obvious identifiers. Other details can identify a person too: a name badge, a screen showing an email, a delivery label, a house number, a tattoo, a distinctive vehicle. The blur anything tool lets you cover those areas by drawing a region or describing what to hide.
Consider the audio
Voices can identify people as reliably as faces. If the clip includes speech from bystanders or from people who have not agreed to be heard, mute that section, bleep it, or anonymise the voice before you share. Anonymising the audio takes a separate step from blurring the picture.
Step 3: How do you check the blurred export?
Scrub through the whole export at the size your audience will see it. A blur that holds in a thumbnail can fail at full screen, and the moments that fail are predictable:
- a person turning toward or away from the camera;
- a vehicle crossing the frame quickly or entering from the edge;
- a face partly hidden behind an object and then revealed;
- the first and last frames of the clip, where tracking starts and ends;
- a reflection in a window, mirror or glossy car body.
Pause at each of those moments. If a face or plate slips through, adjust the selection and re-export instead of sharing and hoping. Treat the check as part of the job, the same way you would proofread a document before sending it.
Step 4: What should you store, and where?
Keep three items together, with different access:
| Item | What it is | Who should see it |
|---|---|---|
| Original video | The unblurred recording | Only people with a reason, such as investigators or legal |
| Reference photo | Stamped, geotagged photo of the scene | People who need the location |
| Blurred export | The copy you share | The intended audience |
Name the three files for the same project and date so they stay linked. If someone later asks where a clip was filmed, or whether a clip has been altered, you can answer from the files you kept. If a regulator, insurer or court asks to see the original, you have it.
Record who has access to each item and why. An access log does not need to be elaborate: a short note in the project folder naming who received which file and when is enough to show that you handled the footage deliberately.
When is blurring not enough?
Blurring hides pixels. It does not remove every route to identification, and it does not change who is responsible for the footage.
- Context identifies people. A blurred person in a distinctive jacket, filmed at a known address at a known time, can still be recognised by someone who knows the person. Remove or generalise the location, and think about whether the clip needs the surrounding detail.
- The coordinates identify a home. A reference photo from a private residence discloses the address. Keep those photos inside the group that needs them.
- Metadata travels with files. Photos can carry GPS data in EXIF, and videos can carry location and device information in their own metadata. Before you publish anything, inspect the exported file with a metadata tool such as ExifTool, which can read and list the GPS tags in an image.
- Some uses need more than blur. Court disclosure, freedom of information requests and body camera releases often have their own redaction rules. BGBlur's guide to body camera footage redaction and FOIA rulings shows what that looks like in law enforcement, and the comparison of video redaction software for business helps when volumes are large.
The practical rule is simple: share the least that does the job. If the clip works without the location, leave it out of the shared copy. If it works with a generic place, such as "north yard" instead of coordinates, use that.
Who is this workflow for?
The workflow suits anyone who films in places where other people are present and then shares the result. Facilities and operations teams use it for incident and damage records. Fleet managers and drivers use it for dashcam clips that go to insurers and trainers. Property and construction teams use it for progress and inspection video that goes to clients. Journalists, creators and researchers use it for street footage where the place matters but the passers-by do not.
What these groups share is a need to answer two questions later: where and when was this, and who can be identified in it? The order of work keeps both answers under your control. It also scales. A team that adopts the same three files per clip, original, reference photo and blurred export, can onboard a new colleague in minutes and can answer a request for a record without searching through chat history.
A short checklist you can reuse
- Take a stamped reference photo where the footage was filmed.
- Make a copy of the video and work on the copy.
- Apply face blur and license plate blur.
- Cover other identifiers: badges, screens, labels, house numbers.
- Mute or anonymise bystander audio.
- Scrub the whole export at full size, paying attention to turns, entries and reflections.
- Check the exported files for hidden location metadata.
- Store the original and the reference photo with restricted access, and share only the blurred export.
Summary
Context and privacy do not compete when you do them in order. Record the place and the time first, from the original scene, with a reference photo you control. Blur faces, plates and other identifiers in a copy. Check the export, keep the original and the reference photo with the right people, and share only what the audience needs. The Geotag Camera covers the first step for free in your browser, and BGBlur covers the second.