Complete Guide to Blurring Faces in Canva with BGBlur [2026]
Canva can blur a static photo with manual effects, but video face privacy needs AI tracking. This guide covers Canva's built-in blur, the BGBlur Canva app, and why BGBlur.com is fastest for full video anonymization.
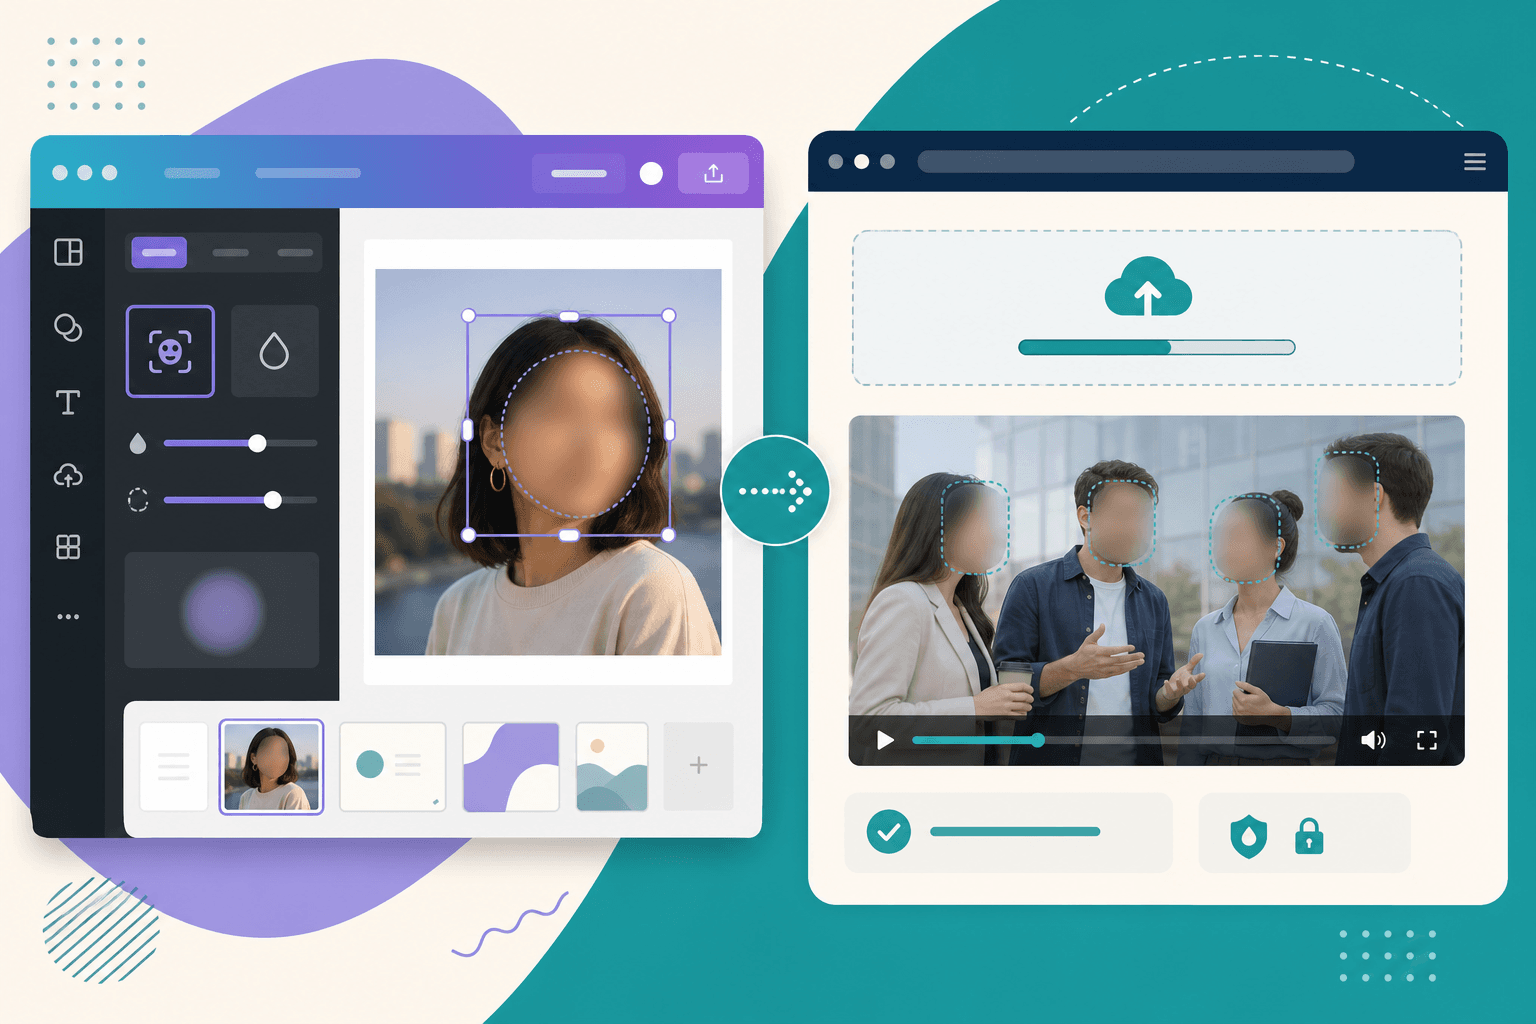
Canva is where millions of people design social posts, presentations, thumbnails, and short-form video. When your design includes identifiable faces—event photos, customer testimonials, street B-roll, or webinar clips—you need a reliable way to blur faces for privacy before publishing.
Canva can blur a single photo with manual effects. It is not built for automatic face tracking across video frames. For that, BGBlur.com and the BGBlur Canva apps (Face Blur, Face Anonymous) are the practical solutions.
This guide walks through three methods: Canva's native blur (best for simple stills), the BGBlur Canva app (best when you want to stay inside Canva), and BGBlur.com (best for speed, longer video, and the most dependable results).
Why Face Blur Matters in Canva Workflows
Creators use Canva for:
- Instagram carousels and Stories
- YouTube thumbnails and end screens
- Client testimonial graphics
- Internal training slide decks
- TikTok and Reels exports
- Nonprofit and school newsletters
Each of these can accidentally include:
- Bystanders in the background
- Employees who left the company
- Minors whose parents did not consent
- Patients or clients in healthcare and coaching content
- Conference attendees in event photography
Blurring faces reduces identifiability while keeping the visual story intact. For video, that only works if blur tracks movement—which is why AI tools matter.
Method Comparison at a Glance
| Method | Best for | Auto face detection | Video tracking | Speed |
|---|---|---|---|---|
| Canva native blur | One face, one photo | ❌ Manual | ❌ No | Slow for video |
| BGBlur Canva app | Designs already in Canva | ✅ Yes | ✅ Yes | Medium |
| BGBlur.com | Any clip, fastest workflow | ✅ Yes | ✅ Yes | Fastest |
Method 1: Blur Faces Using Canva's Built-In Tools (Photos)
Canva's native tools work when you have one static image and one or two faces that do not move. Follow this walkthrough for a simple photo blur.
Step 1: Create or open a design
- Log in to Canva
- Click Create a design or open an existing project
- Upload your photo via Uploads → Upload files
- Drag the image onto your canvas
Step 2: Apply blur to the entire photo (quick but crude)
- Click the photo layer
- Click Edit photo in the toolbar
- Open Adjust or Effects (wording varies by Canva version)
- Find Blur and increase the slider
Limitation: This blurs the whole image, not just faces. Use only when the face is the only subject or you will crop heavily.
Step 3: Blur only the face (manual overlay method)
For selective face blur on a still image:
- Duplicate your photo layer (right-click → Duplicate)
- On the top copy, crop tightly around the face you want to blur
- With the cropped layer selected, go to Edit photo → Adjust → increase Blur
- Position the blurred crop over the original face
- Repeat for each additional face (each face = new duplicate layer)
Tips:
- Zoom to 200–400% for precise alignment
- Use Transparency on the blurred layer if edges look harsh
- Group layers when finished so nothing shifts during export
Step 4: Export
- Click Share → Download
- Choose PNG (quality) or JPG (smaller file)
- Verify faces are unreadable at 100% zoom before posting
When native Canva blur breaks down
- Multiple faces in a crowd shot (dozens of duplicate layers)
- Video or animated elements where faces move
- Reels and talking-head clips exported from Canva Video
- Tight deadlines—manual alignment takes too long
- Compliance workflows requiring proof every face was redacted
For those cases, skip to Method 2 or Method 3.
Method 2: Blur Faces with the BGBlur Canva App
BGBlur publishes Canva apps that connect the Canva editor to BGBlur's AI processing. You can blur faces without leaving Canva—ideal when your team lives in design files all day.
Available BGBlur Canva apps
Search in Canva's Apps panel for:
- BGBlur Face Blur — automatic face detection and blur on images and video
- BGBlur Face Anonymous — stronger anonymization workflows
- BGBlur Blur Anything — selective object blur when you need more than faces
(App names in the marketplace may appear as "Face Blur by BGBlur" or similar—search BGBlur to find all integrations.)
Step-by-step: BGBlur Face Blur in Canva
Step 1: Open the Canva editor
Create a design or open an existing project that contains the photo or video you need to anonymize.
Step 2: Launch the BGBlur app
- In the left sidebar, click Apps
- Search for BGBlur or Face Blur
- Click the BGBlur Face Blur app to open it
- If prompted, click Connect or Login to link your BGBlur account
Step 3: Authenticate with BGBlur
- A login window opens for BGBlur
- Sign in with Google or email (same account as BGBlur.com)
- Return to Canva once authentication completes
- Confirm your credit balance appears in the app panel
Step 4: Upload your media
- Click Upload inside the BGBlur app panel
- Select your image or video from your device
- Review file limits shown in the app (typically up to 1GB video, 4 minutes duration, 25MB images; formats include MP4, MOV, PNG, JPEG, WebP, GIF)
Step 5: Configure blur settings
- Choose blur intensity (slider in the app)
- Select blur style if offered (Gaussian vs. pixelated)
- Optional: upload a reference face to keep one person unblurred while blurring everyone else (useful for speaker + audience shots)
Step 6: Process
- Click the main action button (e.g., Blur Faces)
- Wait for processing—face detection runs first, then blur rendering
- Longer videos may take several minutes; keep the app panel open
- Review status messages ("Detecting faces…", "Applying blur…")
Step 7: Insert back into Canva
- When processing completes, add the result to your design
- Replace the original unblurred layer or place the anonymized version on a new page
- Continue designing—add text, brand colors, and templates as usual
- Export the final composite from Canva
Pros and cons of the Canva app
Pros:
- Stay inside Canva's familiar UI
- AI face detection—no manual boxes
- Works on both images and short video clips
- Same BGBlur account and credits as the website
Cons:
- Video duration and file-size caps in the integration
- Processing can feel slower inside Canva's iframe
- Less ideal for batch workflows or very long footage
When the app wins: You are finishing a Canva social template and need one clip anonymized before export.
When BGBlur.com wins: You have raw footage, multiple files, or anything over a few minutes—see Method 3.
Method 3: Blur Faces on BGBlur.com (Recommended)
BGBlur.com is the fastest and most flexible way to blur faces before you import media into Canva. Most professional teams use this split workflow:
- BGBlur → anonymize the master file
- Canva → add branding, captions, and layout
Why BGBlur.com is the best solution
- Automatic AI detection of all faces—not just the obvious ones
- Frame-accurate tracking for video (no flicker when subjects move)
- Browser-based—no Canva app limits or iframe delays
- Images and video from one tool
- Longer clips and straightforward re-processing if you need adjustments
- Privacy-first processing with secure deletion after export
Step-by-step: BGBlur.com workflow
Step 1: Open BGBlur
Go to BGBlur.com/en/upload?select=blur-face in any browser.
Step 2: Upload
Drag and drop your file or click to browse.
Supported formats:
- Video: MP4, MOV, WebM, AVI
- Image: JPG, PNG, JPEG
Step 3: Review AI detection
BGBlur scans the file and highlights detected faces. Preview the overlay to confirm coverage—including background subjects.
Step 4: Choose blur style
- Gaussian — natural, professional look
- Pixelated — stronger anonymization
- Adjust intensity to match your platform (subtle for corporate, stronger for public crowds)
Step 5: Process and download
- Click Start Processing
- Wait typically 2–5 minutes for a five-minute clip
- Download the anonymized file
Step 6: Import into Canva
- Open Canva → Uploads → upload the blurred file
- Build your design around the safe master
- Export final PNG, MP4, or PDF
This pattern—blur first, design second—is what agencies, schools, and compliance teams standardize on.
Canva Video & Reels: Special Notes
Canva's video editor lets you trim clips, add music, and apply transitions. It does not replace a dedicated privacy redaction tool.
For Canva Video projects
- Export or download your raw clip before heavy editing, OR
- Finish the edit, export from Canva, upload that MP4 to BGBlur.com, blur faces, re-import the safe version for final captions only
For Instagram Reels made in Canva
- If faces move, native blur will fail after the first frame
- Use BGBlur before the final Canva polish layer
- Check blur at full screen on mobile—small faces still matter for privacy
For YouTube thumbnails
- Native Canva blur (Method 1) is often enough—single frame, one face
- For thumbnails pulled from video frames with bystanders, use BGBlur on the source frame first
Hybrid Workflow: Canva + BGBlur Together
Power users combine both platforms deliberately:
| Stage | Tool | Task |
|---|---|---|
| Capture | Camera / screen record | Raw footage |
| Privacy | BGBlur.com | Face blur on master |
| Design | Canva | Templates, text, brand |
| Publish | Canva export | Social, PDF, slide deck |
Canva remains brilliant at design. BGBlur remains brilliant at privacy. Trying to force both jobs into one tool usually costs time.
Troubleshooting Common Issues
"My blur box doesn't follow the face in video"
You used native Canva blur on video. Switch to BGBlur—AI tracking fixes this.
"BGBlur Canva app says no credits"
Top up at BGBlur.com/pricing with the same login you connected in Canva.
"Faces in the background are still visible"
Run detection again on BGBlur.com—the AI catches smaller faces manual Canva layers miss.
"Export quality looks soft"
Export PNG from Canva at highest quality; avoid over-compressing JPG. On BGBlur, use original resolution export before Canva resize.
"I need one speaker unblurred, audience blurred"
Use the reference face option in the BGBlur Canva app, or configure protected-face settings on BGBlur.com before processing.
Privacy & Compliance Checklist
Before publishing Canva content with people in it:
- All identifiable faces blurred or consented
- Background subjects checked (not just foreground)
- Video reviewed at full length—not just thumbnail frame
- Internal policy sign-off if required (HR, legal, FERPA, GDPR)
- Safe master archived separately from editable Canva file
Canva templates do not satisfy compliance alone—the pixels must be anonymized.
Cost & Time Reality Check
| Task | Native Canva | BGBlur Canva app | BGBlur.com |
|---|---|---|---|
| 1 photo, 1 face | 5–10 min | 2 min | 1 min |
| 1 photo, 10 faces | 45+ min | 3 min | 2 min |
| 2-min video | Impractical | 5–15 min | 3–5 min |
| 10-min webinar | Not feasible | May hit limits | 5–10 min |
BGBlur.com consistently wins on time and coverage.
Conclusion: Which Method Should You Use?
- Simple thumbnail, one still face? Canva native blur (Method 1) may be enough.
- Designing entirely inside Canva, short clip? BGBlur Canva app (Method 2).
- Anything with motion, multiple people, or compliance stakes? BGBlur.com (Method 3).
Canva makes content beautiful. BGBlur makes it safe to share. Use both—and always blur before the world sees it.
Blur faces free on BGBlur.com →
Related Resources
- How to Blur License Plates in Canva — Dashcam and street footage in Canva
- How to Blur Faces in Adobe Express — Express add-on + BGBlur workflow
- Complete Face Blur Guide — Product overview
- How to Blur Faces Using RunwayML — AI-generated video privacy workflow
- Blur Face in Photo and Video with AI — Core BGBlur face blur walkthrough
- Face Anonymization vs Face Blur — Understand the difference
Last updated: May 27, 2026